
 |
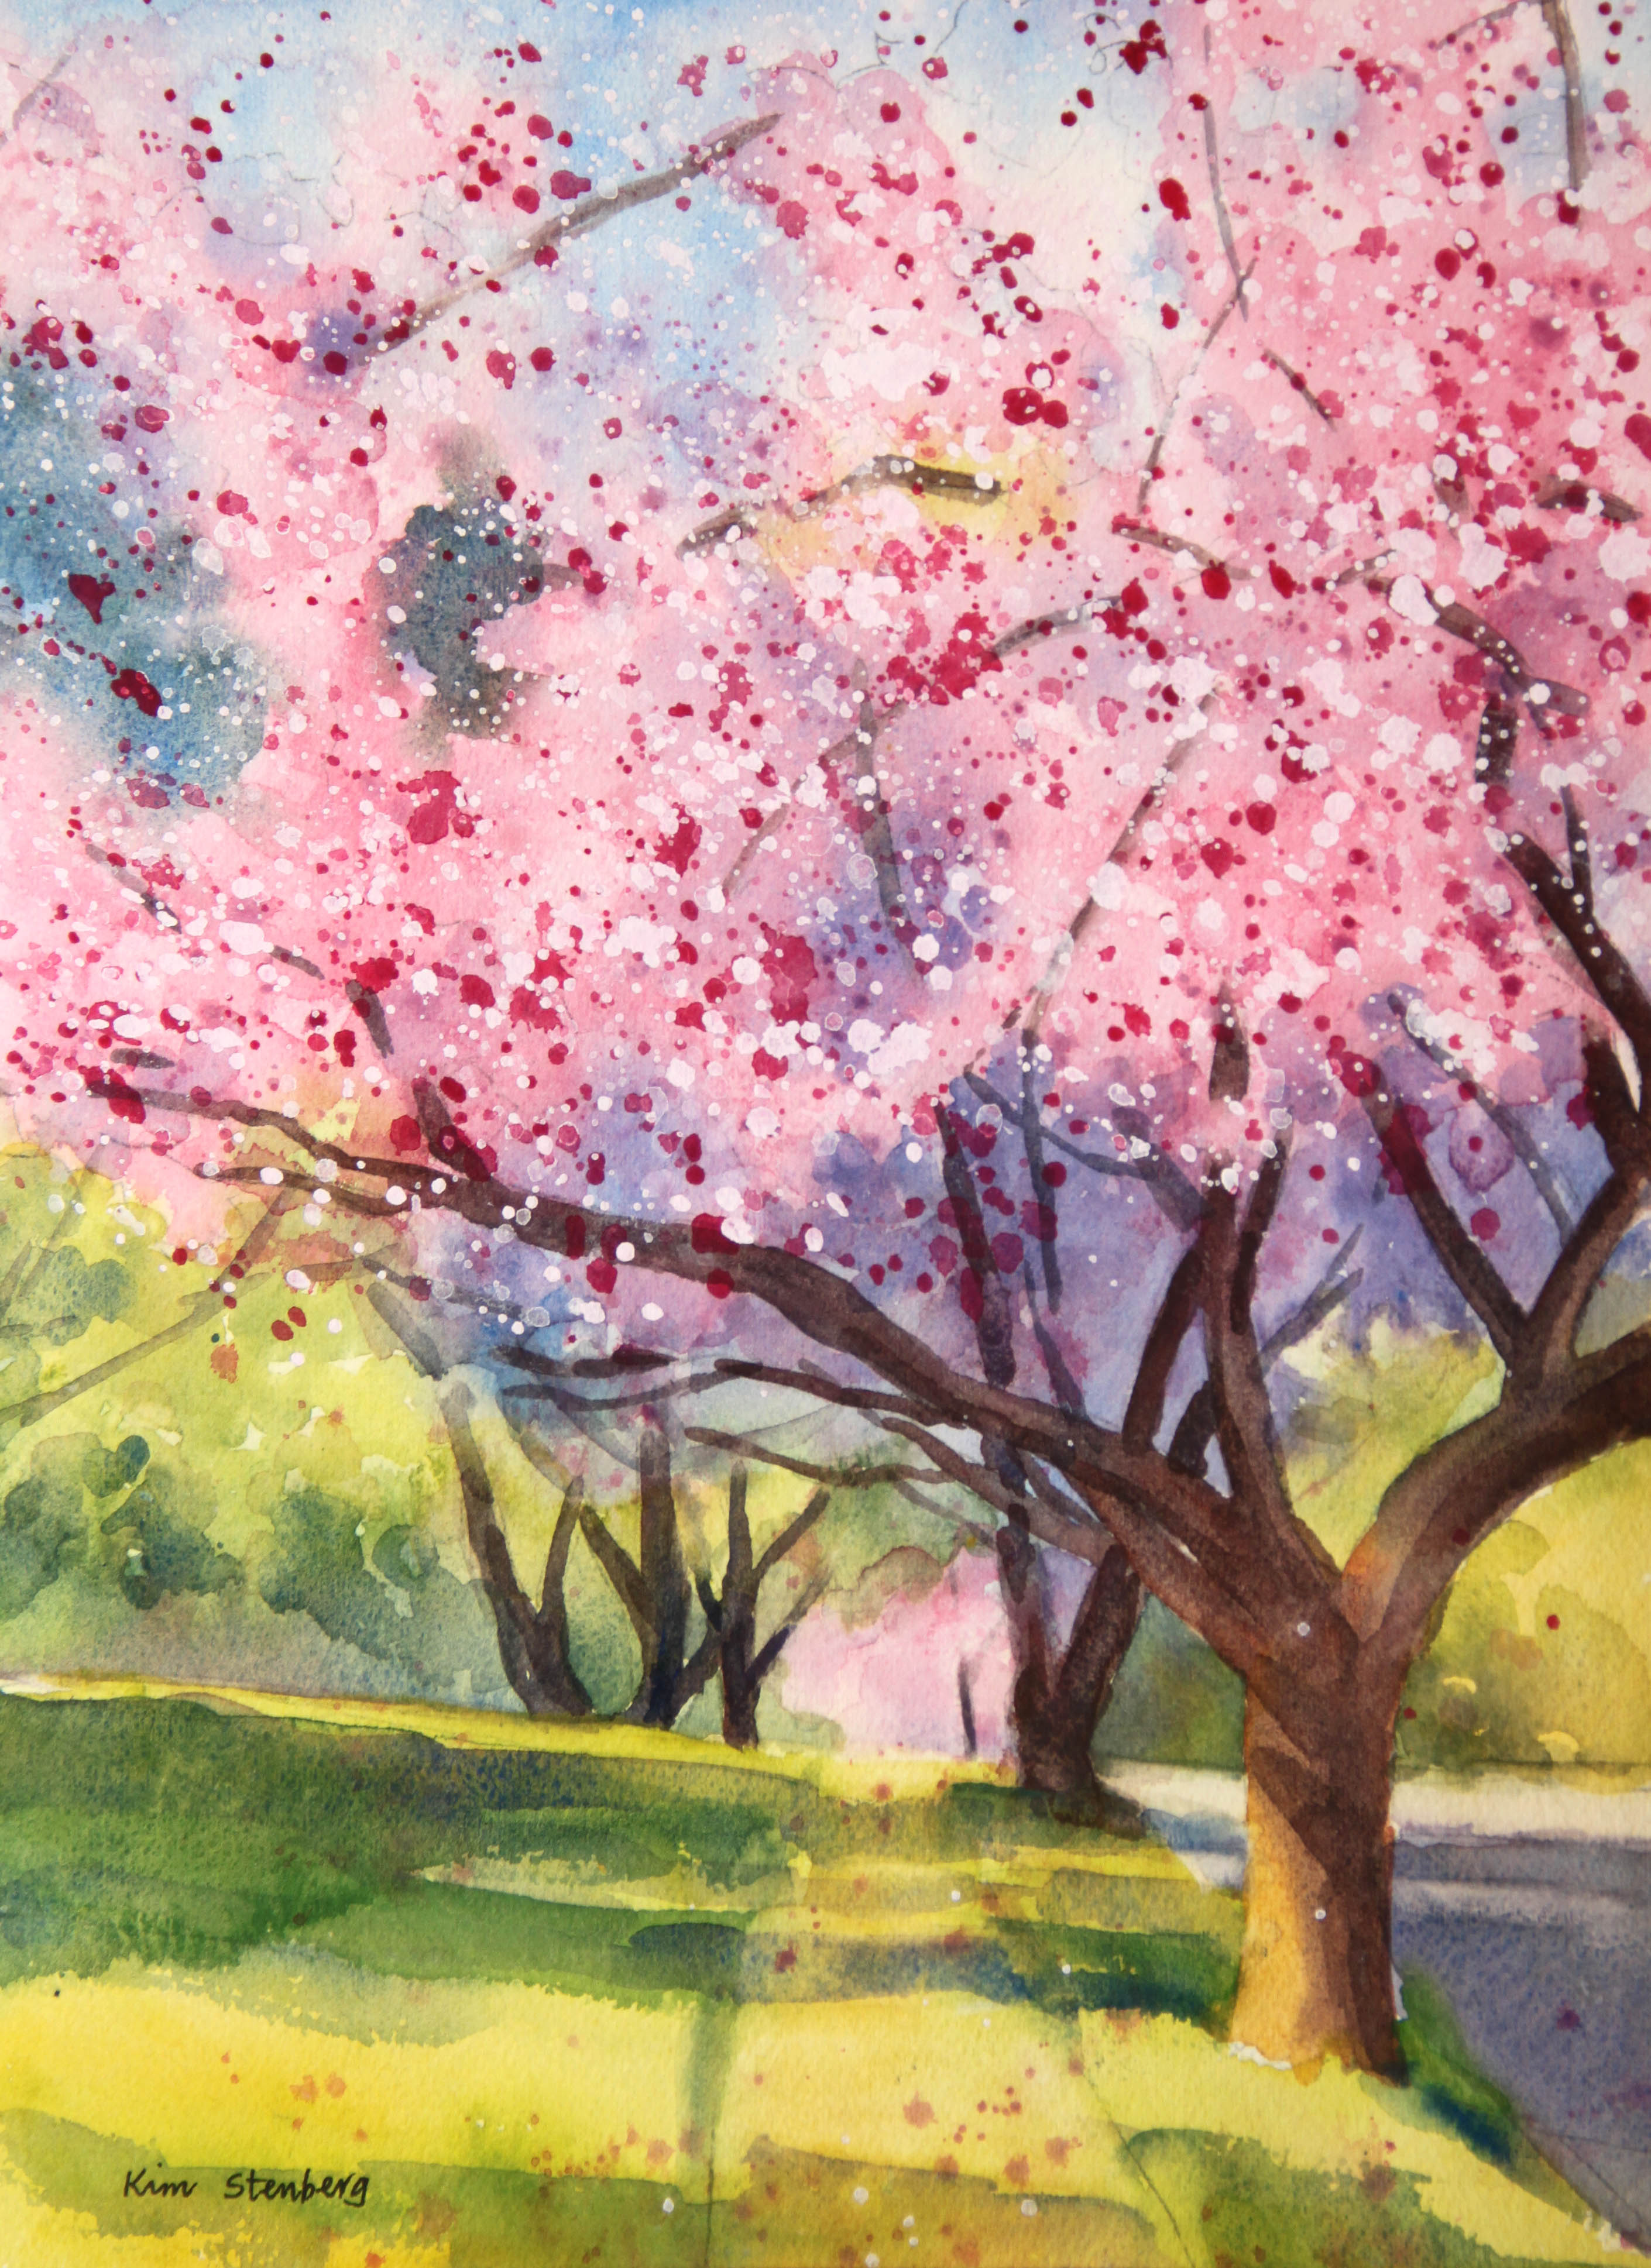
| "Double Cherry Blossoms" |
The following is the description of what we did in the third week of the spring term, 2022 for my "Watercolor from Start to Finish" class (my online Zoom class with the Art League School in Alexandria, VA).
This week's lesson was about the edges through painting "Double Cherry Blossoms".
We drew the design, then we wetted the paper thoroughly and evenly. The success of the variegated wash depends on how you do this step; don't rush it.
We
dropped cobalt blue in the sky holes, pale permanent rose in the sun-struck
cherry blossoms, yellow green (winsor lemon and a little cobalt blue) in
the grass and trees, and quinacridone gold in the trees, side walk and
street. We dried paper until it's bone dry.
The biggest trap in a cherry blossom painting is paint it all pink and saccharine.
One must focus on light and dark shapes. Desaturate the picture and
print it out black and white as well as a color version to avoid the
trap. We wetted a little more than the
top half of the paper and dropped the purple mixture (French ultramarine
blue and permanent alizarin crimson) to suggest the cherry blsooms in
shadow.
We
mixed the dark green (ultramarine blue and gold) and dropped it in the
two dark green shapes showing through the gaps in the cherry blossoms in
the top left.
So far, the painting has no hard edges. We are going to bring the sunshine by introducing the crisp-edged shadows. The shadow colors vary depending on the local colors: the blue greens
(cadmium yellow pale and cobalt blue; I glazed the purple mixture over
green here and there later) on the grass and the shadow areas in the
distant trees and purples (ultramarine blue and crimson; you may add a little gold for the street) on the sidewalk and street.
I've
noticed during the critique session, quite a few of you made the edges
of these shadows mushy. Don't be afraid of hard edges. What's
problematic (at least for me) is that there are only hard edges in a
painting. Hard edges come forward and
they can also suggest the sunny condition; soft edges tend to recede,
create soft textures and can suggest a damp weather condition.
The ability to control the hard/soft edges indicates how advanced you
are in your watercolor journey and will open the door for you to paint
any subject you wish!
By the way, below is your homework. Please practice mixing greens.
Many students hate mixing and painting greens, but we cannot avoid
greens, especially in landscapes. It's actually not that hard to mix
beautiful greens. Again, it's matter of practice and positive attitude!
 |
| Mixing Greens |
We painted the tree trunks and limbs with the mixture of ultramarine blue and burnt sienna. Make
sure the mid-tone branches in the middle of the cherry blossoms tuck
behind the clouds of flowers or dark shadows and not stick out out of
nowhere.
Finally, it's time to get messy with the splatters.
Cover yourself and the working area because these pesty splatters tend to
end up everywhere! We first splattered
with permanent rose, then white gouache. Use a small round brush, load
it up with enough thick paint and splatter carefully in all directions.
Avoid big bombs (caused by too much water in the brush). Nothing
happening? Use more water. Don't be half-hearted with these splatters.
Do enough of them so that they show!
I avoided these splatters (which suggest the highlights on the flowers) in the shadow areas.
I splattered a little bit on the sidewalk and grass. At the end, I
decided to splatter the mixture of a little permanent rose and white
gouache as well.
Below is my class demo. This is only one way of painting cherry blossoms. You may want
to try a different approach with more hard-edged flowers. As long as
you include the dark shadows of these delicate flowers, you will have
success.
 |
| "Double Cherry Blossoms Class Demo" |


